
Are you constantly having to change the settings for your worksheets, such as margins, font size, page headers, etc... every time you create a new workbook or insert an new worksheet? Most Excel users assume that's just the way it is. Well, I'm here to tell you those days are over.
I'm going to show you how to create a template containing your own personalized settings that will be applied to all new workbooks and worksheets.
When you open a new workbook, Excel uses a workbook template with default settings such as three worksheets, column widths of 8.43, no headers and footers, default print margins, etc... When you insert a sheet into a workbook, Excel uses a worksheet template with similar default settings.
Here's how to create your own personalized templates so that every new workbook and worksheet will already have the settings you want.
1) Open a blank workbook;
2) Delete all sheet tabs except for one;
3) If you want to change the default formatting of your worksheet cells, such as the font face, font size, number formats, etc..., on the Home tab, click the Cell Styles command in the Styles group. Then right click the Normal style and choose Modify. Click the Format button and make any changes you like to the default style and click OK;
4) Next, to select your preferred print settings, click the Page Layout tab. Make all the changes you want your default worksheets to have (i.e. margins, headers/footers, etc...);
| Personalizing
Your Default Worksheets? • Want a Custom Header or Footer to appear on every new worksheet? On the Page Layout tab, click the Dialog Launcher (small arrow on bottom right corner of 'Page Setup' group) and click the Header/Footer tab. • Want all new sheets to fit your data one page wide? From the Page Layout tab, select1 Page in the Width field of the 'Scale to Fit' group. • Don't like the current print margins? On the Page Layout tab, click the Marginscommand in the 'Page Setup' group, then click Custom Margins... • Would you prefer the default orientation of all new sheets to be Landscape? On the Page Layout tab, click the Orientation command in the Page Setup group. • Don't like gridlines displayed in your worksheets? Click the View tab and uncheck Gridlines in the Show group. |
5) When you have selected all of the custom settings for your default worksheets, click cell A1 to make it the active cell for all new worksheets;
6) Next, you need to save this custom worksheet as a template in your XLSTART folder. Click the Filetab and Save As. In the Save as Type dropdown on the bottom of the dialog box, select Excel Template (*.xltx) and browse to the XLSTART folder.
| Locating
Your XLSTART folder In Windows 7 and 8 you should be able to find your XLSTART folder at... C:\Users\username\AppData\Roaming\Microsoft\Excel\
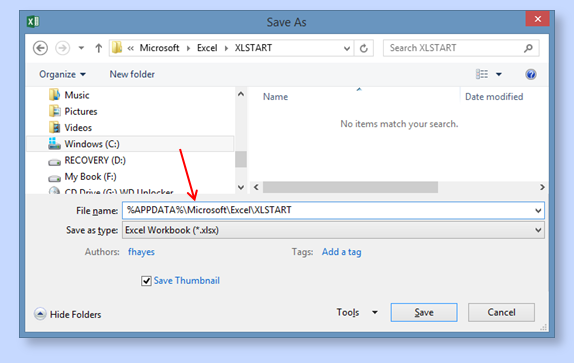
If you do not see the AppData folder, try typing the full path (above) into the Address Bar in Windows Explorer. 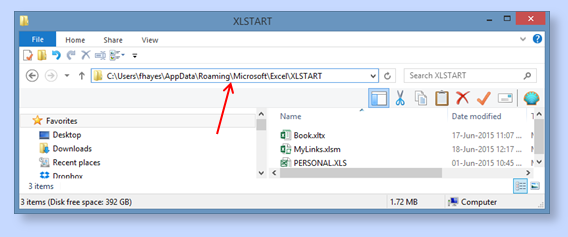 Another option for quickly locating your XLSTART folder is to type or paste the following command into the Windows Explorer Address Bar or even into the 'File Name' field of Excel's Save As or Open dialog boxes and press Enter. %APPDATA%\Microsoft\Excel\XLSTART
 |
7) Change the suggested name to SHEET.XLTX. This will now be the default sheet template used when you Insert a worksheet into a workbook;
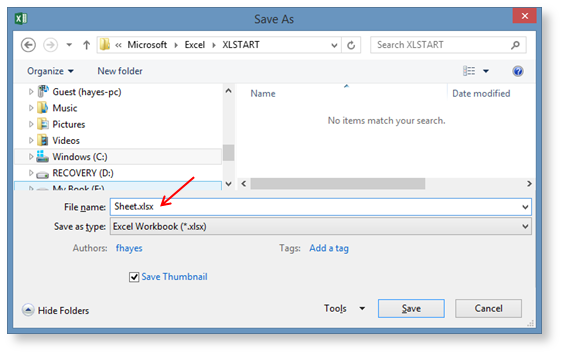
8) Now you need to save this same personalized worksheet as your default 'workbook' template by saving it with a different file name. To do this, simply repeat Step 7 but this time save the workbook with the filename BOOK.XLTX;
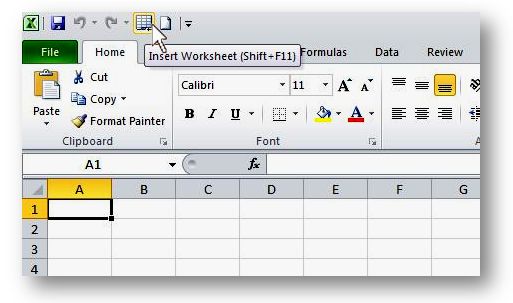
Personally, I like my default workbook to have only one sheet rather than the default three sheets Excel offers, as I find the extra two sheets redundant. If you choose to go with a one sheet default workbook you can quickly insert a new sheet by clicking the Insert Worksheet command (immediately to the right of the sheet tabs). However, in workbooks with a lot of sheet tabs, the Insert Worksheet command may not be visible, so I recommend adding the Insert Worksheet command to your Quick Access Toolbar (QAT). Alternatively you can use Shift+F11 to insert a new sheet.
Add the Insert Worksheet and New workbook commands to your QAT
1) Right-click the QAT and choose Customize Quick Access Toolbar;
2) In the Choose commands from dropdown, select All Commands;
3) Scroll down and select the Insert Worksheet command and click the Add>> button;
4) Scroll down again and select the New Workbook command and click Add>> button. Note that the name in the list for this command is New, not New Workbook.
Now, whenever you open a new workbook or insert a new worksheet it will always contain your preferred settings.
If you chose to have only one sheet in each new workbook, you can easily insert additional sheets whenever needed by clicking on the Insert Worksheet button.
Remember that if you ever get a new computer or work on multiple computers, you can copy these two files (SHEET.XLTX AND BOOK.XLTX) so you won't have to create them again.
If you found this tip helpful, please share it with your friends and colleagues.
To get more tips every week like this one...
'Spreadsheet Tips From An Excel Addict'
'Excel in Seconds' & 'Excel in Minutes'
Plus you also get my 'Excel in Seconds' E-book as a BONUS!
(Download it immediately after you sign up)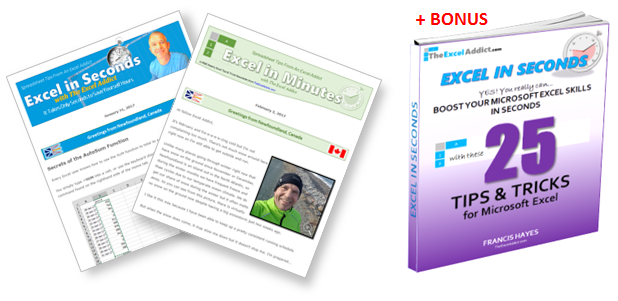
Copyright Francis Hayes © All Rights Reserved
8 Lexington Place, Conception Bay South, NL Canada A1X 6A2
Phone 709-834-4630
This site is not affiliated with Microsoft Corporation.